Managing Seats
Control who has access to your XchangeHero workspace — invite team members, set their role, and add extra seats if you need more than your plan includes.
What this does
A seat is a login for one team member. Your plan includes a set number of seats. You can invite people up to your seat limit, set each person as an admin or a standard member, and purchase additional seats at any time if your team grows beyond what your plan includes.
How many seats does my plan include?
Each plan comes with a fixed number of seats included in the monthly price:
You can see how many seats you have used and how many remain at the top of the Billing page under your current plan summary.
Inviting a team member
Go to Settings → Team. Only admins can invite new members. Enter the person's email address and choose their role, then click Send invite.
They will receive an email with a link to set up their password and join your workspace. The invite link expires after 7 days — if they miss it, you can resend it from the same Team settings page.
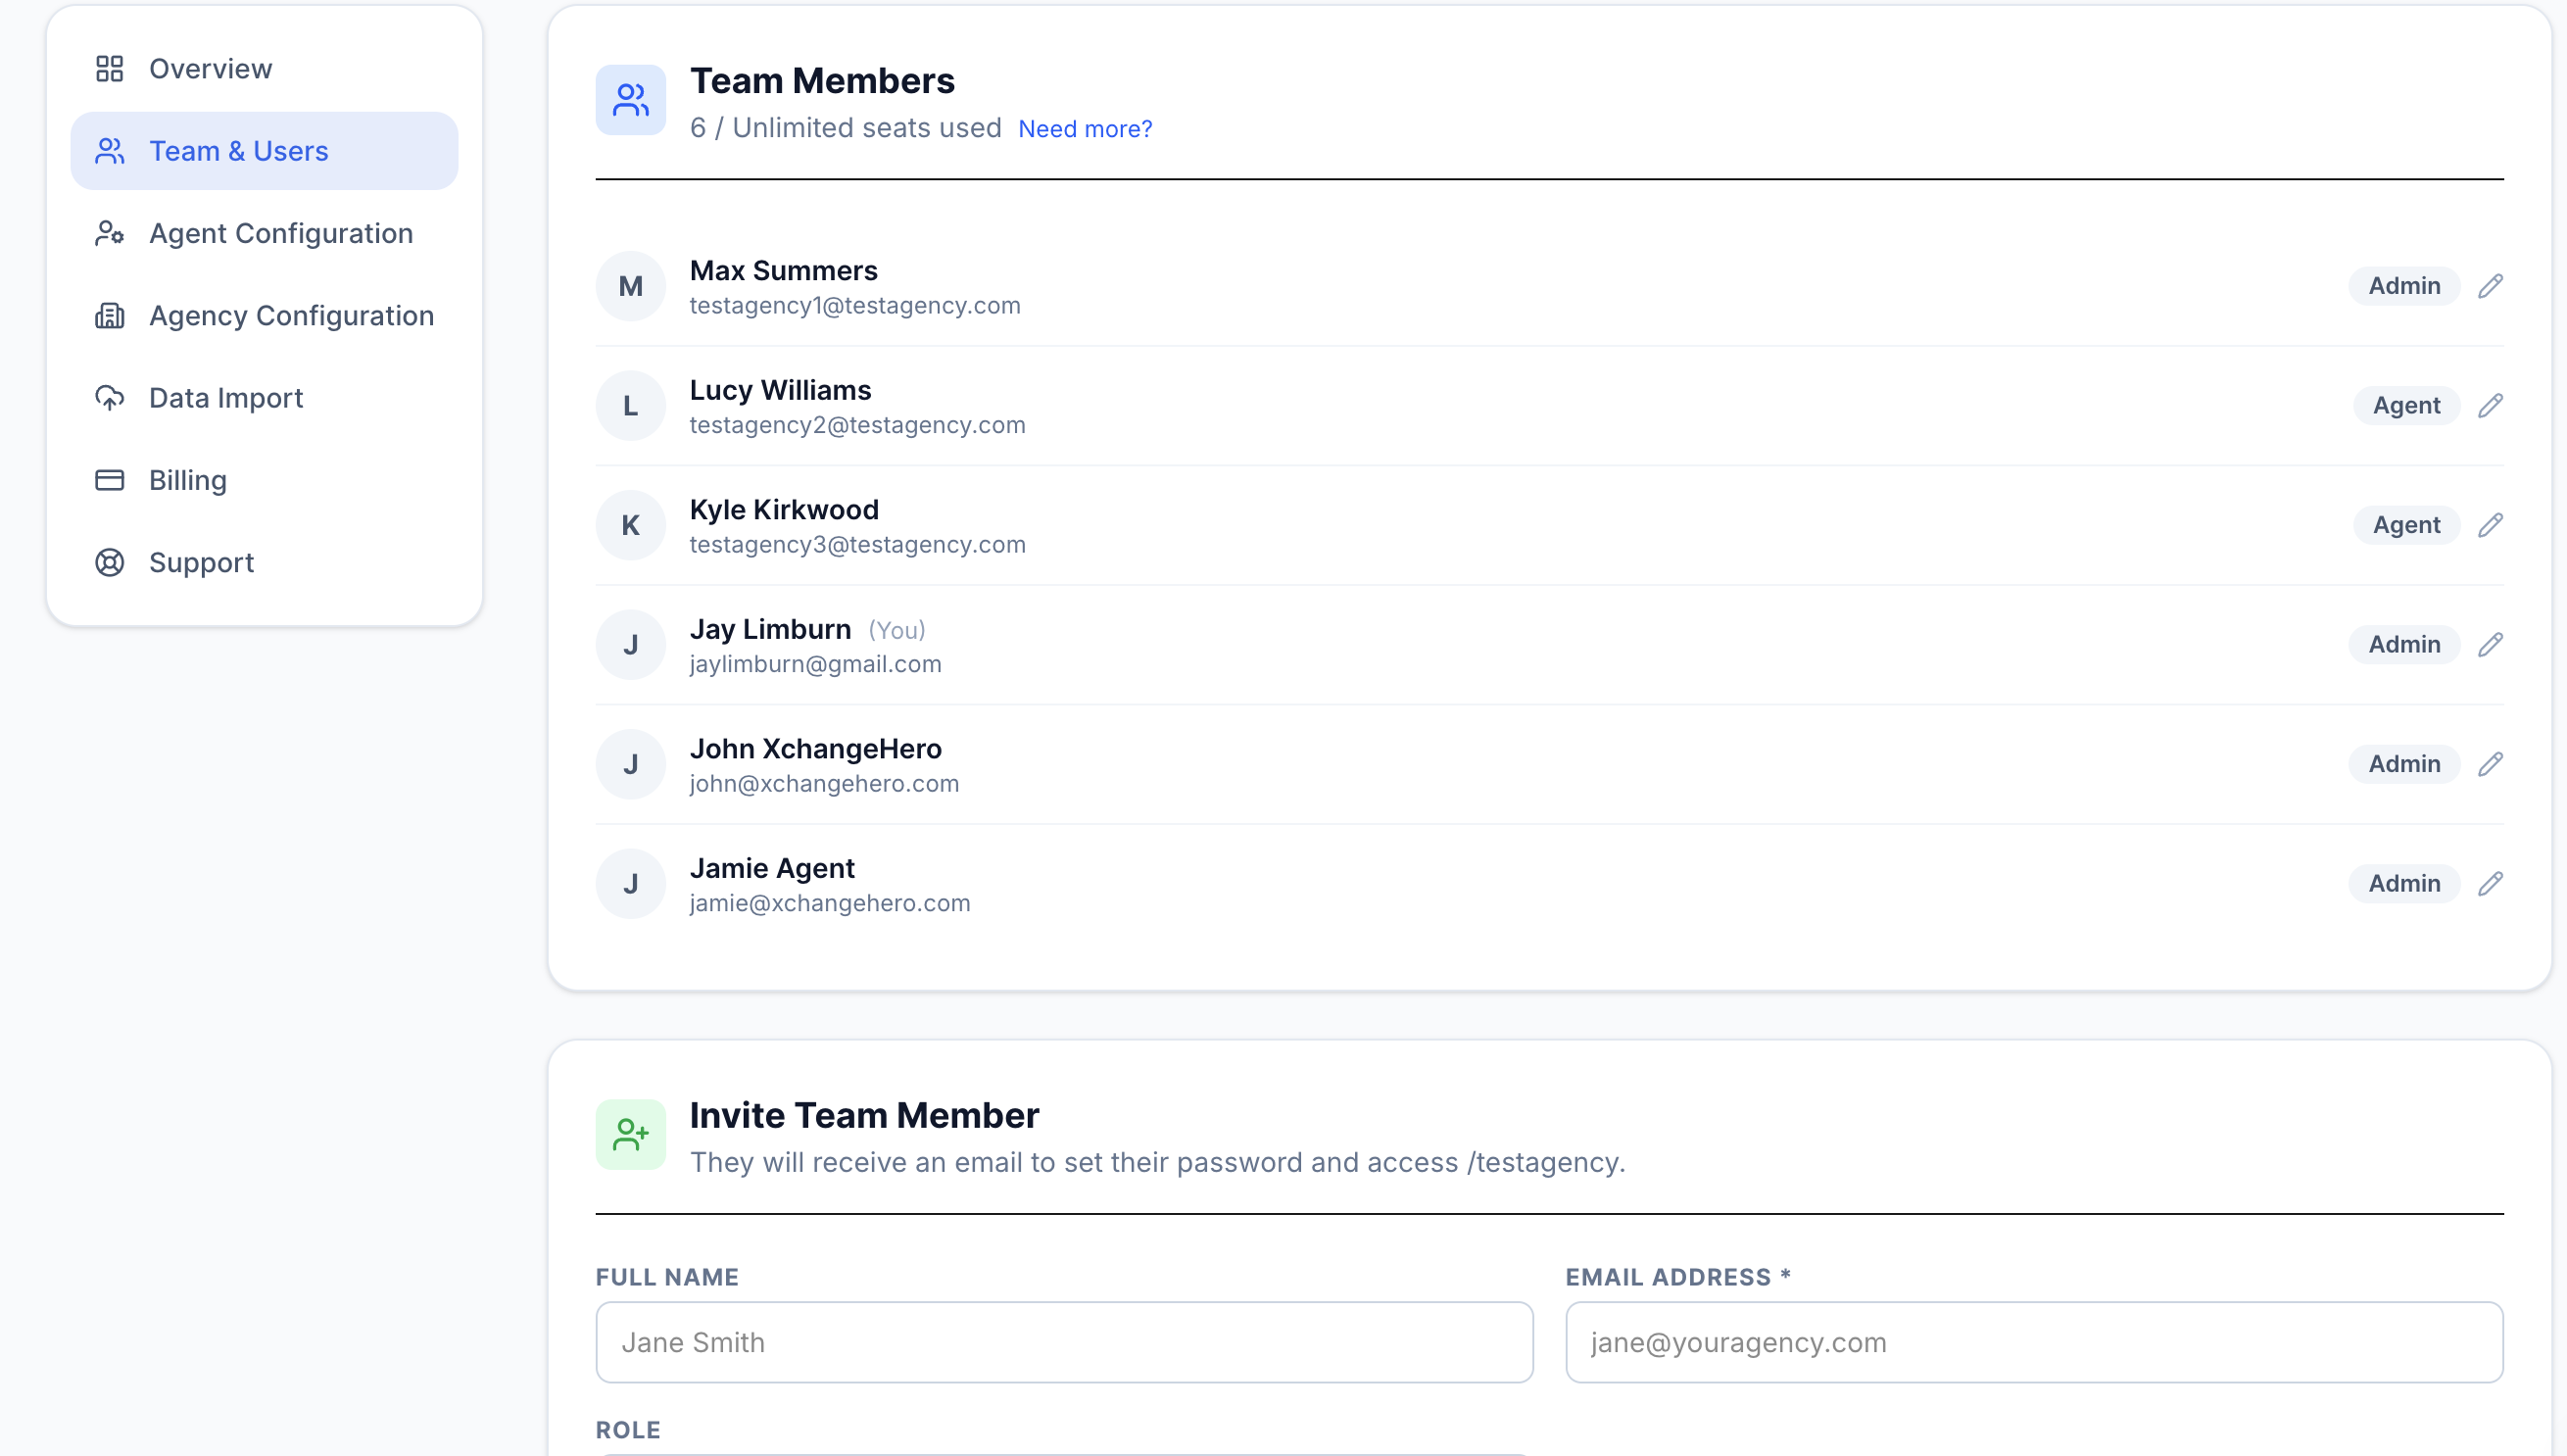
Settings → Team. Enter an email address, choose a role, and send the invite. Current members are listed below with their role and status.
Roles
There are two roles in XchangeHero:
Full access to everything — all listings, contacts, deals, inbox, and settings. Admins can invite and remove team members, change roles, manage billing, and purchase extra seats. There must always be at least one admin in the workspace.
Full access to all operational features — listings, contacts, deals, inbox, viewings, and valuations. Members cannot access billing, invite other team members, or change workspace settings.
You can change a person's role at any time from the Team settings page. Click the role badge next to their name to switch between Admin and Member.
Removing a team member
To remove someone, go to Settings → Team, find their name, and click Remove. Their account is immediately deactivated — they will not be able to log in.
Removing a member frees up a seat. Any listings, contacts, or activity they created remains in the workspace — nothing is deleted. If they were the primary agent on any listings, you can reassign those from the listing detail page.
Before removing someone
If you are on the Starter or Growth plan and have purchased extra seats, removing a member may let you reduce your extra seat count and save on your monthly bill. Go to Settings → Billing → Extra Agent Seats and reduce the number after the removal.
Adding extra seats
If your team has grown beyond the seats included in your plan, you can purchase additional seats without changing your plan. Extra seats cost £25 per seat per month and are prorated — so if you add a seat mid-month, you only pay for the days remaining in the current billing period.
To add extra seats, go to Settings → Billing and scroll down to the Extra Agent Seats section. Use the + and − buttons to set how many extra seats you need, then click Save changes. The new seats are available immediately.

The Extra Agent Seats section in Settings → Billing. Adjust with the +/− picker and click Save changes. The total seat count updates instantly.
Reducing extra seats
You can reduce the number of extra seats at any time from the same section. Set the picker back to a lower number and click Save changes. If you set it to zero, all extra seats are removed and you return to your plan's included seat count. The reduction takes effect immediately, and the saving appears on your next invoice as a proration credit.
You will not be able to reduce your extra seats below the number of people currently in the workspace — you need to remove team members first if you want to reduce below your current headcount.